Although we don't have a class schedule for 2017, we are providing some basic info below to help you get started with the use of soil blocks.
Soil Blocks for Starting Vegetable and Flower Seeds
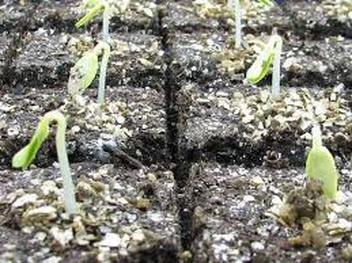
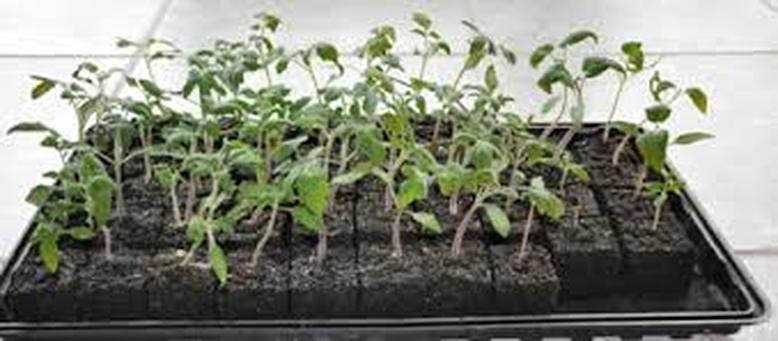
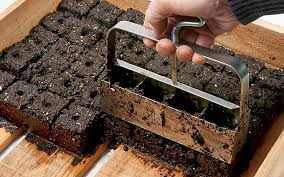
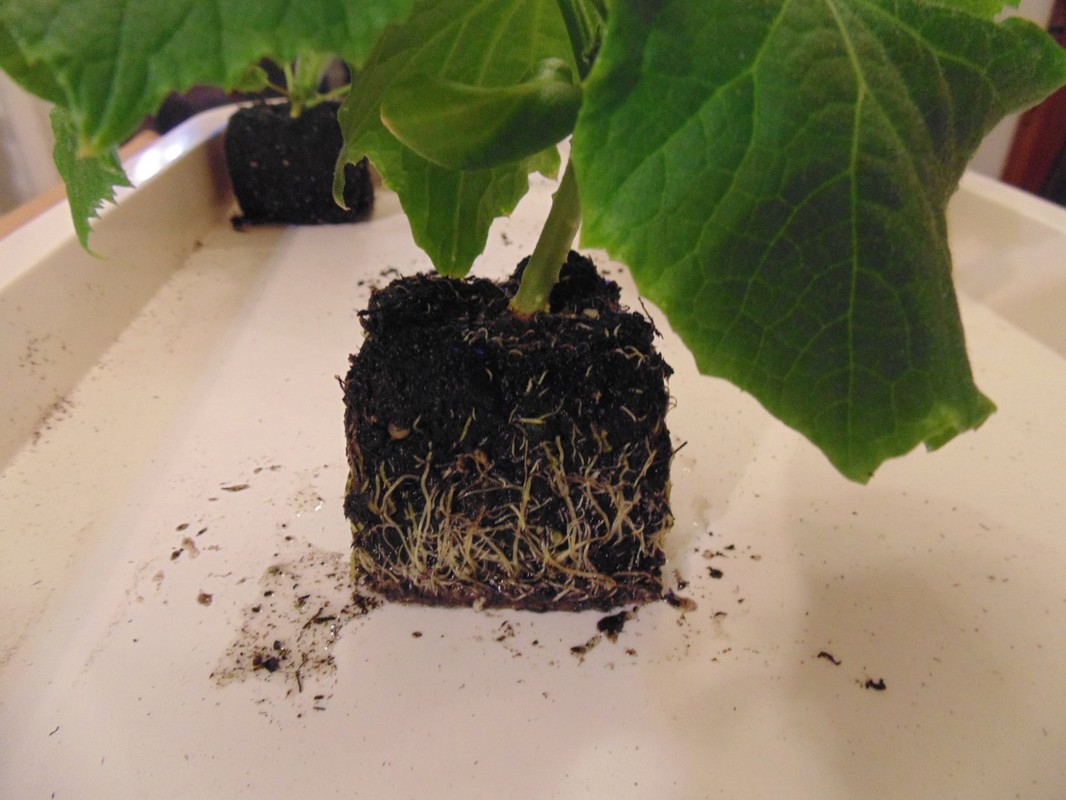
In Europe, free-standing blocks of soil, rather than peat pots or seed flats, are used for starting vegetable and flower seeds. To make the soil blocks, just fill a blocker with thoroughly moistened potting mix (like you find at Northwest Seed & Pet), set the blocker in a shallow pan, press the handle firmly to compress the cube and press excess water out. As you withdraw the maker you will see that you have created multiple soil blocks, each with a small depression in the top for the seed. They can be watered with a turkey baster from above until the plant develops 4 leaves. Once the seedlings have formed four leaves they have also created an extensive root system within the soil cube (which has been “air pruned,” forcing new roots to be formed) and can be watered from below by pouring water into the shallow tray holding the soil blocks. When the seedlings are ready, plant them in the ground --there is no disturbance of the roots because they are all contained within the cube.
Google “soil block makers” to find venders supplying the devices to make soil blocks. Then google “making soil blocks” to find some youtubes describing the process.
It may look easy on these youtubes (and it is easy) but there are three critical things to keep in mind to ensure success:
1. Get the soil mix adequately wet: The seed germinating soil mix needs to be fairly moist. Some water (but not too much) will squeeze out when soil is compressed.
2. Compress the soil mix adequately: When creating a cube, a compression of the soil mix needs to take place. Don’t be afraid to apply substantial pressure to the handle of the soil block maker to compress the soil adequately so that it sticks together.
3.Don’t erode the cube when watering: A cube can be eroded by overly vigorous watering. Start out by watering with a gentle stream from a turkey baster applied to the davit where the seed was planted. Continue to water with the turkey baster until 4 leaves have formed. At this point you can water from below (gently pour about an 1/8 of an inch of water in the bottom of the pan holding the cubes. When most plants have 4 leaves they have a root structure throughout the cube (the roots are “air pruned” as they reach the edge of the cube and new branching roots will be formed). The cubes will absorb the water placed in the bottom of the pan and the plant roots will continue to thrive.

|
|
|